Hi everyone,
Click on photos to ENLARGE and then hit the back arrow to return to the post.
I hope your 2023 has started out well and you are all enjoying the new year.
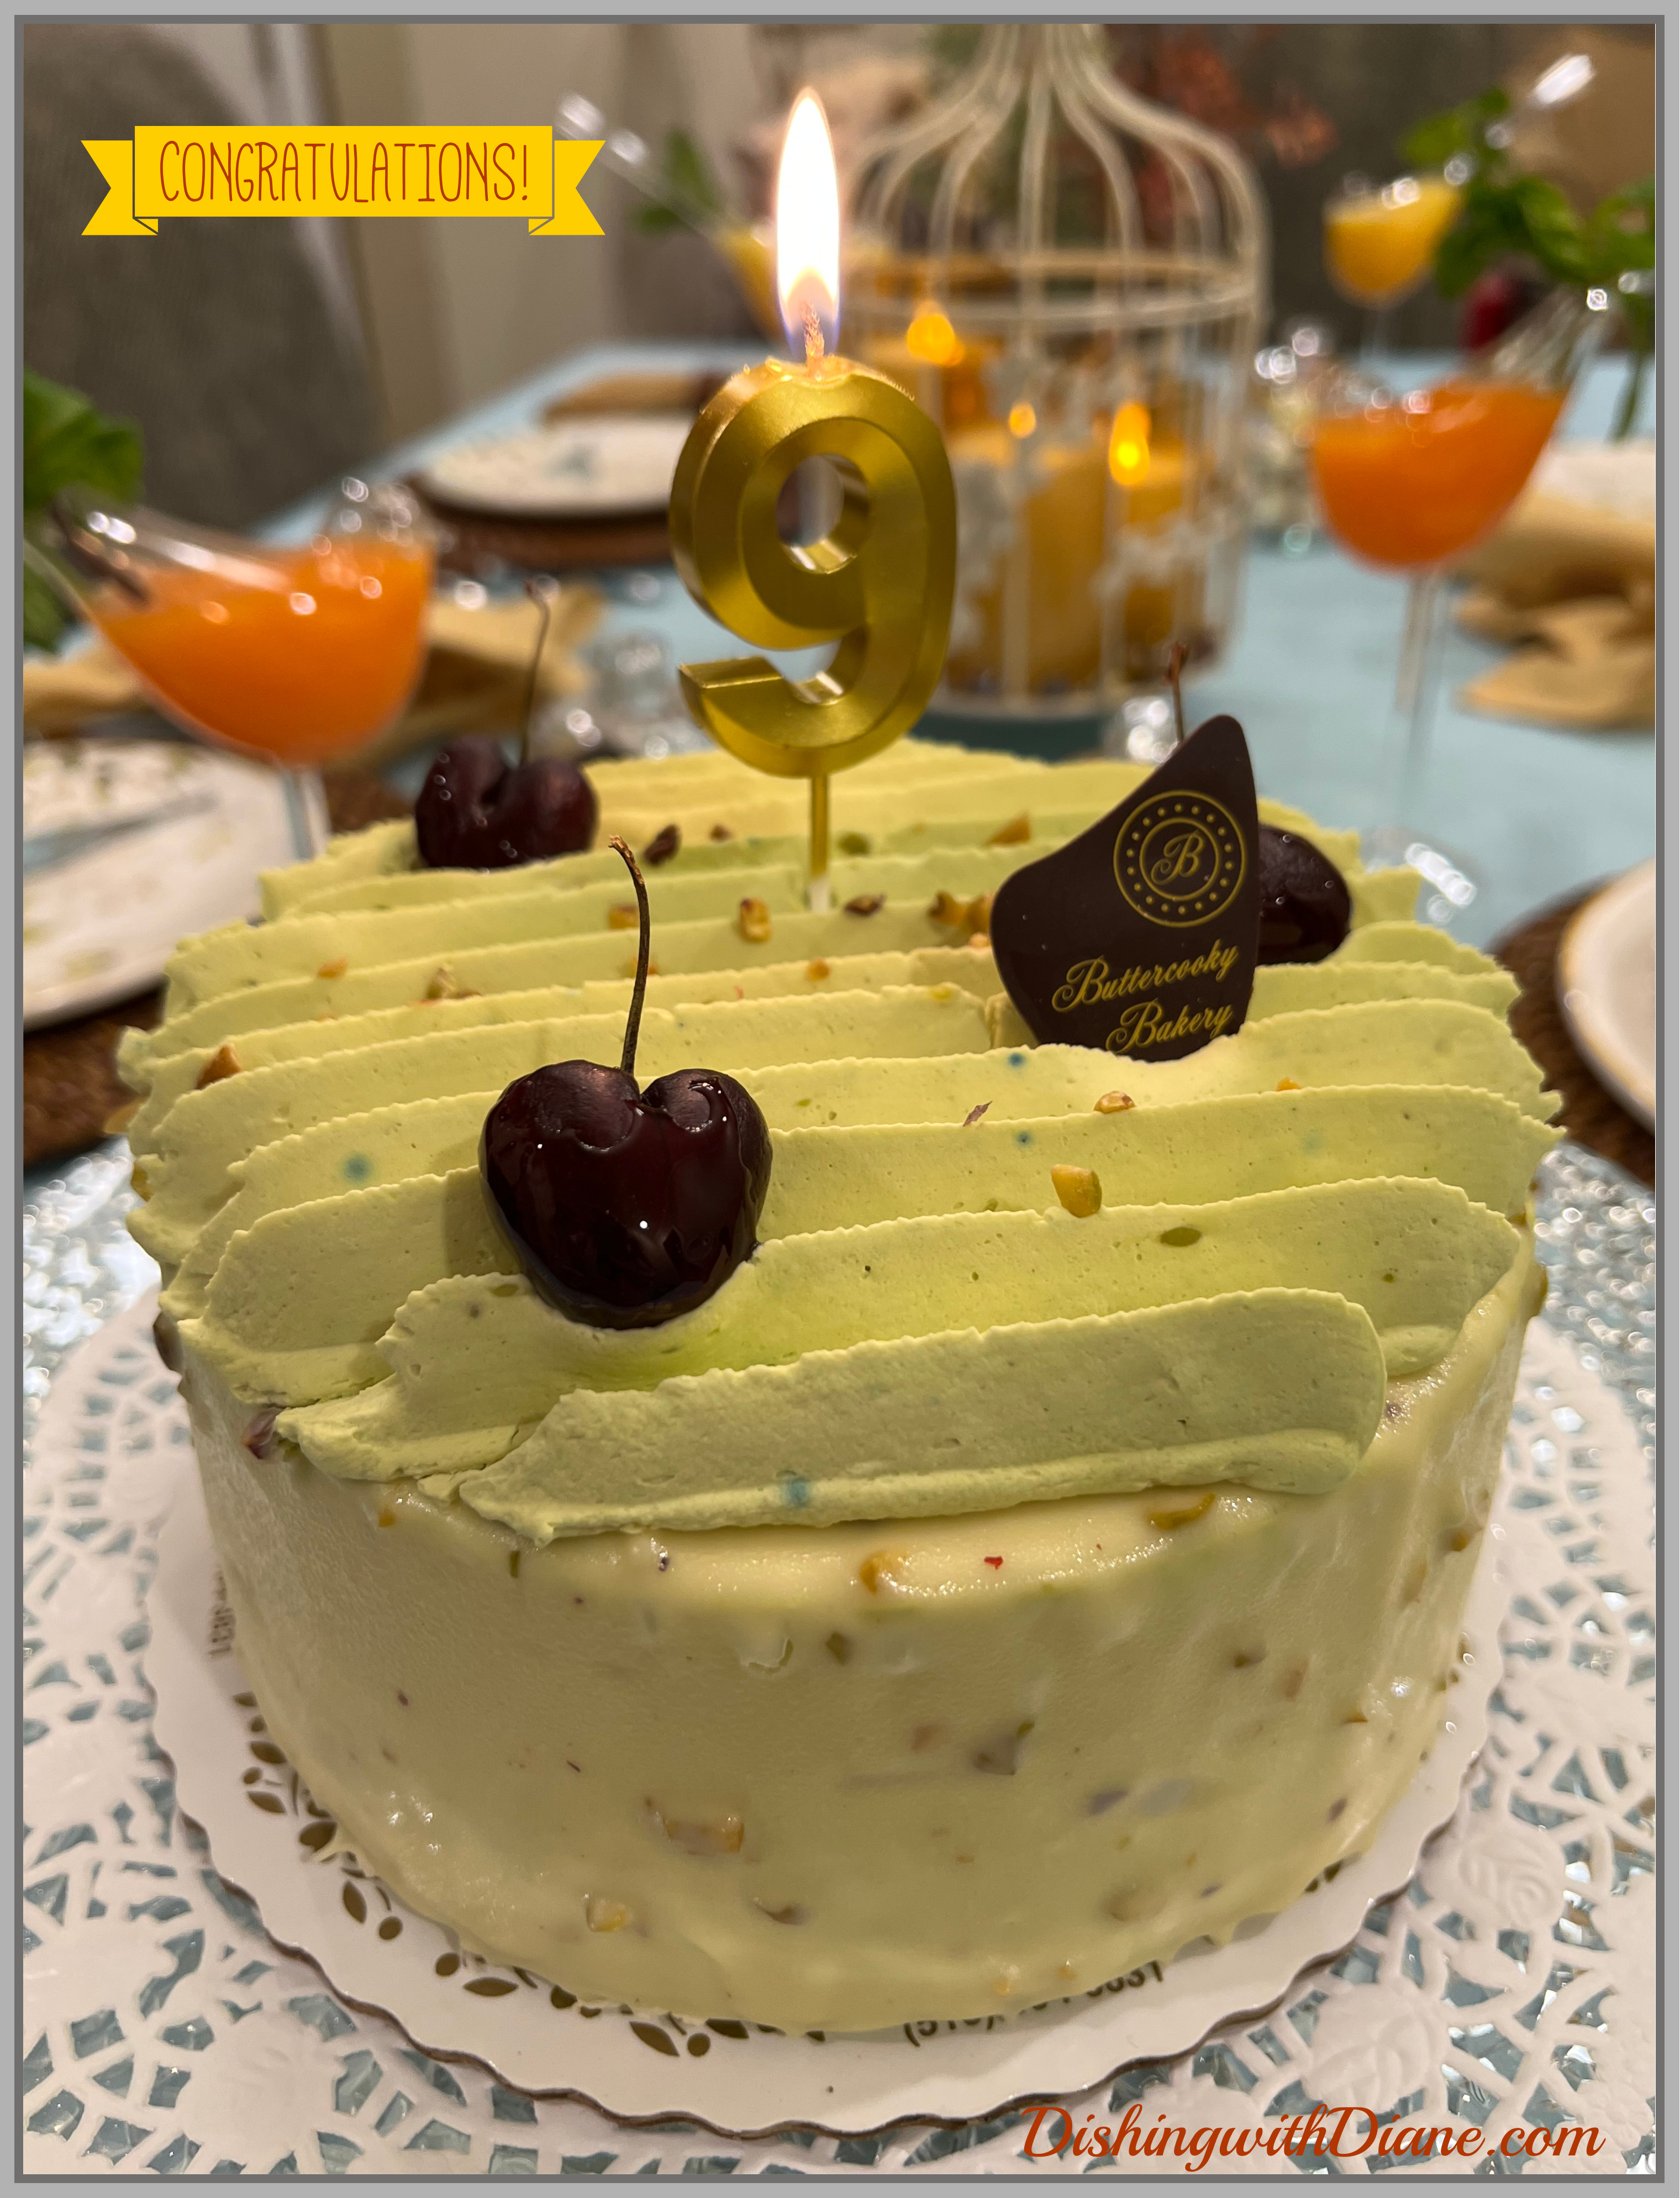
I am proud to say that DishingwithDiane is celebrating our 8th Anniversary of posting tablescapes, recipes, and family stories and it has been a highlight of my life.
I consider all of my members extended family and I wish I could host an event someday to meet you all in person since I speak with you via comments and texts and I feel we have been friends for years.
I deeply appreciate all the communication that we have had over the years and thank you for your support of the blog.
******************************************
This year I got the idea for the theme of the 8th anniversary in a very unusual way while visiting my son this past Fall.
Let me explain how this happened… Early one morning while we were all sitting around the table having breakfast, my son had the TV on in the background and a show came on one of the cable channels about food from South Africa.
The show caught our attention and after the chefs were preparing various entrees, the host decided to make a very popular classic South African dessert called “Malvapoeding” or “Malva Pudding”. It looked quite interesting and resembled the British sticky toffee pudding.
The dessert comes with a story about one of the fruit trees of South Africa and a folklore legend that this particular fruit makes elephants drunk. Scientists over the years have proved this theory wrong and it is just a myth for tourists.
This tree is called the Marula tree and once a year at the peak of summer, the tree bears a yellow fruit with white flesh the size of a plum.
The Marula tree is a member of the same family as the mango and grows widely in Africa. Its sweet, yellow fruit is used for making jam, wine, beer, and a liquor called Amarula.
Some African communities use the marula bark as an antihistamine and as a prevention for malaria. Marula fruit can even treat stomach aches.
In African folklore legends, the tree is also known as the “Elephant Tree or the Marriage Tree”. Many tribes have acknowledged that the tree and its fruit have aphrodisiac qualities. Believed to be fit for royalty, this tree is protected by African law, just like the elephants.
The magical scent draws the elephants from miles around to the trees and that is when the locals know it’s time to harvest the ripe, yellow fruit or the elephants wouldn’t leave any fruit for anyone else.
Marula trees are incredibly popular for elephants – they eat the bark and devour the fruit, then spread marula seeds around their habitats. The seeds are evenly spread through elephant dung.
The Marula fruit is then distilled and matured in aged (French) oak barrels for two years before being blended with fresh cream to make the popular liquor “Amarula”
So after the show, we all decided we wanted to try this infamous Amarula Liquor and during our afternoon outing, we went to a local liquor store in town and inquired.
The salesman had the liquor in stock and knew of the myth about the elephants getting drunk and we bought two bottles (one for us and one for my son).
We stopped on the way home for a dessert to pair with the Amarula after dinner, and we tasted Amarula on the rocks with dessert. Delicious!
Amarula is a South African liquor made of sugar, cream, and fruit from the marula tree. This creamy and citrusy liquor tastes great on the rocks or mixed in a cocktail drink. Some of the most popular drinks include Amarula with coffee, coconut or fruit cocktails, and an Amarula milkshake.
In my opinion, it tastes like Bailey’s Irish Cream with a little more caramel.
*******
Now I had to make the pudding that originally intrigued me. When we got home from our weekend, I searched for a recipe. Some were very complicated with long ingredient lists with and without the Amarula liquor. So I continued to search and finally found a recipe that wasn’t too complicated and I was off to baking and the result was delicious.
It is a sweet pudding made with a yellow sponge drenched in a decadent sauce. It contains apricot jam, which is a classic ingredient in South African cuisine.
The other ingredients include baking soda and balsamic vinegar which caught me by surprise for such a sweet dessert. The vinegar and baking soda are added together to make it rise. The more I read about this pudding, the more interested I became.
The batter is very liquidy and I never thought it would come together but this is my cake straight out of the oven and it was a perfect consistency.
(I poked small holes in the cake to make the sauce saturate the cake and topped it with sanding sugar for a light crunch).
So after my test batch, I made the pudding once again today to celebrate DishingwithDiane’s 8th anniversary and I served it with caramel ice cream, whipped cream, a few fresh raspberries, and of course some Amarula liquor to celebrate.
I want to share the recipe with all of you below.
To complete the theme of Amarula & elephants and South Africa, I am using my safari dishes- one of my favorite sets.
Starting out with a centerpiece that I thought would look perfect with the dishes.
Some cordial glasses for the Amarula, themed candles, coasters, cutlery, and the coordinating sugar and creamer set.
My place setting
And a few random photos of the anniversary tablescape….
I hope you find this as interesting as we did and buy a bottle of Amarula and make the pudding and indulge in a little South African culture for dessert.
Malva Pudding (Malvapoeding)
Author: Mike Benayoun
Cuisine: South African, Vegetarian Servings: 8 people
Ingredients
For the batter
- 1 tablespoon butter (at room temperature)
- 1 cup sugar
- 2 eggs
- 1 tablespoon apricot jam
- 1 teaspoon baking soda
- ½ cup milk
- ¼ cup brown vinegar (e.g. malt or balsamic vinegar)
- 1 cup AP flour, sifted
- ¼ teaspoon salt
For the sauce
- 1 cup heavy cream
- ¾ cup sugar
- 8 tablespoons butter
- ½ cup hot water
- 1 teaspoon vanilla extract
- 1/2 cup Amarula liquor – added after the sauce is taken off the heat.
Instructions
- Preheat oven to 350 F / 180 C.
- Whip 1 tbsp of butter with sugar for 2 minutes. Then, add the eggs one at a time, and continue to whip well after each addition.
- Add the apricot jam and mix well.
- Then, add the milk and the baking soda, then the brown vinegar.
- Add the sifted flour gradually and continue to mix.
- Pour batter into a 9-inch ( 22 cm) square greased baking pan.
- Bake for 45 minutes in the oven or until an inserted toothpick comes out clean.
- While the malva pudding is baking, mix all the sauce ingredients in a saucepan on medium/high heat.
- Bring to a boil, then remove from heat. Cover. ( I added the Amarula when cool.)
- Remove the pudding from the oven, then pour the sauce on top. Set aside for 15 minutes before serving so that the cake has time to absorb the sauce to saturation.
- Cook Note: I poke small holes in the cake to help with the sauce saturating the cake.
- Cook Note: You can use a cookie cutter to make individual portions
- Serve with custard (like creme anglaise), vanilla ice cream, or whipped cream
******************
This was a wonderful celebration for us and now we start a new year at DishingwithDiane.com I am so excited about what is ahead…
Again, thank you for your support and comments. Please continue to tell your friends about this blog and ask them to join and become part of the family.
*****************************************
Until my next post, make every day a celebration!
Stay well,
Diane